
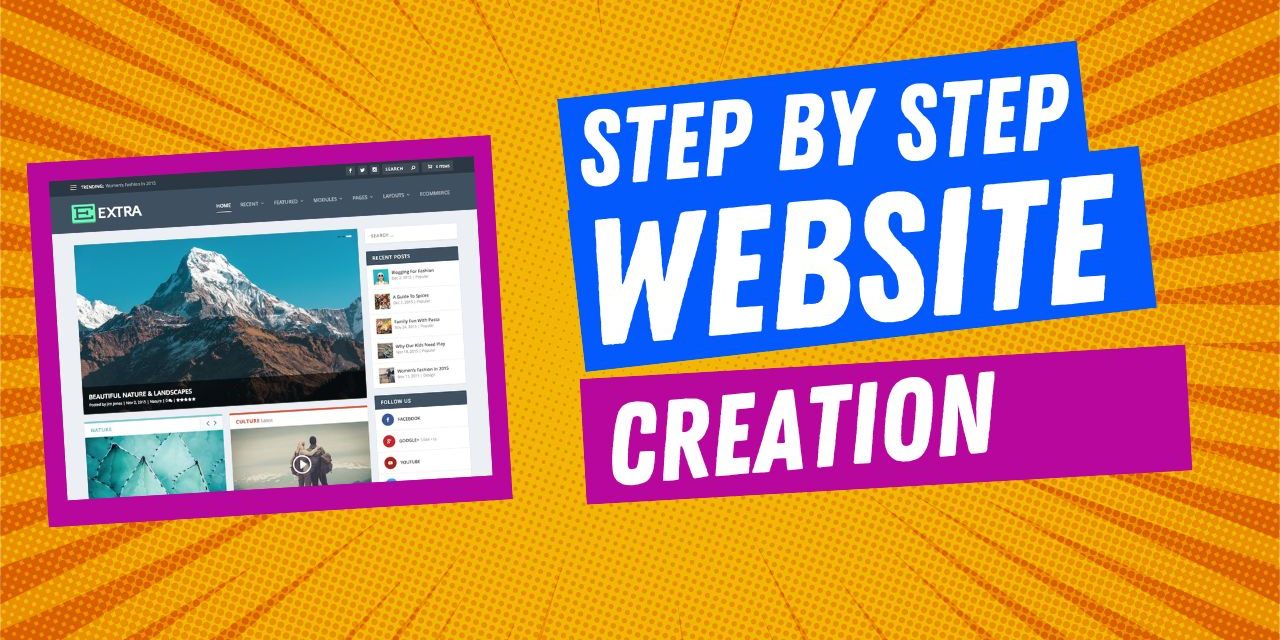
I’m excited to walk you through the process of building a new website using Elegant Themes. In my years of experience, I’ve found that this particular theme collection is versatile and user-friendly, making it an ideal choice for many of my projects. Elegant Themes offers a range of options, but for the purpose of creating a clean and professional-looking blog, I’ll be focusing on the Extra theme, which is tailored for online magazines and blogging platforms.
In constructing a blog, simplicity and aesthetics are key. The Extra theme provides a neatly organized layout with features like an elegant post thumbnail display and related posts for better user engagement. As we move through the setup, I’ll guide you on customizing and optimizing your blog to achieve the look and functionality that fits your vision, without the need for complex configurations. Let’s get started on building an engaging platform for your content on WordPress.
Links on this post may contain affiliate links. They help support my site and keep me making videos and content. Thank you!
Key Takeaways
- Extra theme from Elegant Themes is chosen for its simplicity and design tailored to blogs and online magazines.
- The theme offers user-friendly customization options, with the need for minimal complex adjustments.
- Emphasis is on creating a blog that is both aesthetically pleasing and functional, with features enhancing user engagement.
Video Tutorial of Extra Theme
The best way to learn how to use the theme is by watching my step by step tutorial video above. Then you can come back to the article and review the below.
Getting Started with Elegant Themes
Benefits of Using Elegant Themes
- Customization: I can tailor the site to my exact preferences.
- Ease of Use: The themes are user-friendly straight out of the box.
- Versatility: Suitable for various sites, including blogs.
- All-in-One Package: The theme comes with features that eliminate the need for additional plugins.
Overview of Divi and Extra Themes
- Divi: Offers extensive customization options with a range of templates.
- Extra: Designed for blogging and online magazines, providing a cleaner layout for posts.
| Divi | Extra |
|---|---|
| Highly customizable | Less customization, magazine-style |
| Variety of templates | Optimized for blogging communities |
Choosing Between Divi and Extra for Blogs
- For a sophisticated look, Divi is ideal with its multitude of design possibilities.
- I recommend Extra for bloggers because:
- The layout is cleaner and more suited to blogging.
- The “Recent Posts” section has better thumbnail and title layouts.
- It includes a “Related Posts” feature for internal linking without extra plugins.
Remember, both Divi and Extra are available for one price, offering great value for anyone looking to establish an online presence efficiently.
Initial Setup
Setting Up Hosting and Domain
After purchasing a new domain, I have successfully set it up with my preferred hosting company. The process involved selecting a hosting plan that fits my needs, registering the domain name, and then configuring the domain’s DNS settings to point to my hosting company’s servers. If you need assistance with setting up your hosting and domain, refer to previous tutorials for detailed guidance.
Installing WordPress
I logged in to my hosting dashboard and utilized its one-click installation feature to set up WordPress – it’s a straightforward procedure. Here’s a quick rundown of the steps followed:
- Navigate to the ‘WordPress Install’ section.
- Click on ‘Install Now’.
- Fill in the necessary details like site name, admin user, and password.
- Confirm the installation and let the automatic installer do the rest.
Following these steps, I logged in to my fresh WordPress installation, ready to customize it to my preferences.
Downloading Extra Theme
To customize my website, I’ve chosen Extra, a product from Elegant Themes, which I’ve found ideal for building out blogs. I have several years of experience with Elegant Themes and appreciate its ability to be highly customized while also being user-friendly out of the box. Here’s how I downloaded and installed Extra:
- Logged into my Elegant Themes account.
- Navigated to the download section and selected Extra.
- Clicked the download button, saving the theme file to my computer.
- In the WordPress dashboard, I went to Appearance > Themes > Add New.
- Clicked on ‘Upload Theme’, chose the downloaded file, and installed it.
- Activated the theme and checked the frontend to ensure everything looks as expected.
The theme installation was smooth, and I’m ready to move forward with building out the site’s features and layout. Remember, while Divi from Elegant Themes offers extensive customization, Extra is preferable for a sophisticated magazine-style blog with thoughtful features, like well-presented recent posts and related post sections. I made sure to activate an SSL certificate for enhanced security, easily obtainable via my host, WPX Hosting. Now, with the theme activated, the next steps include customizing the appearance and adding my logo and content.
Configuring Your Blog
Applying the Extra Theme
When building out Brainstorm SEO, I opt for Extra from Elegant Themes, preferring it over Divi for its suitability for blogs and online magazines. Here’s how to set it up:
- Log into WordPress and navigate to the theme section.
- Choose ‘Add New Theme’, upload the Extra theme file, and press ‘Install Now’.
- Once uploaded, activate the theme to begin customization.
Extra offers an ease of use right out of the box but can be tailored for those seeking a unique look.
SSL Certificate and Website Security
Security is key for any website, so addressing the ‘Not Secure’ warning is essential:
- Contact your host, in my case, WPX Hosting, to install an SSL certificate.
- Ensure the hosting package includes security features like SSL to protect visitor data.
- SSL certification not only secures your site but also improves search rankings.
Logo and Navigation Bar Customization
Personalizing your blog starts with the basics – the logo and navigation bar:
- In the Extra theme options, upload your blog’s logo for branding.
- Consider making your navigation bar ‘fixed’ for easy access as readers scroll.
- Adjust navigation bar settings like color and font to match your blog’s aesthetic.
Remember to save all changes to see the logo and a custom navigation bar in action.
Social Accounts and RSS Feed Setup
Integrating social media is crucial for growing your audience:
- In your dashboard, link your social accounts to allow for easy sharing and connectivity.
- Set up an RSS feed for your blog to enable followers to receive updates seamlessly.
- Utilize pre-existing plugins like Monarch for sharing and Bloom for email opt-ins.
By connecting social channels and an RSS feed, you expand the reach and engagement of your content.
Customizing the Blog Layout
Adjusting Homepage Settings
When setting up your blog’s homepage, you’ll navigate to the theme customizer. In the customizer, you’ll find the homepage settings under the Extra layout options. This defines what your front page will display. You want your homepage to be inviting and showcase your latest or featured posts. To ensure this, set it as based on the Extra category layout and name it “homepage”—this will activate it as your default front page. Save your changes to see these take effect.
Designing with Extra Category Builder
The Extra Category Builder is instrumental in tweaking the front layout of your blog. To access the category builder, look for the corresponding option in your dashboard. Once there, you have a range of layouts to choose from. For instance, I often pick the masonry blog category because of its clean look. The feature post setting is also there, and as you add content, these posts will populate on your homepage, creating a dynamic and engaging layout. It’s straightforward: select a layout, update it, and review your homepage to see the transformation.
Choosing and Customizing Layouts
Choosing the right layout for your blog is crucial for aesthetics and user experience. While Extra provides less customization upfront compared to Divi, it’s tailored for blogs and magazines, which makes it very apt for our purpose. After installing Extra, you’ll go to the theme area, where you can upload and activate it. Then, explore the different layout options offered. Remember, you don’t need to rely heavily on custom CSS as the theme comes with built-in functionalities. I prefer keeping it simple and utilize the theme’s native features to maintain a clean and professional look. After selecting a layout, customize it by adding posts and see it come alive with your content.
Final Touches and Review
Adding Custom CSS Sparingly
When to Use Custom CSS
- When built-in options don’t meet specific design needs
- To add unique styles to certain elements
Benefits of Minimal Custom CSS
- Maintains site performance: Less code to process
- Easier updates and maintenance: Fewer customizations to track during theme updates
Best Practices
- Use Inspection tools to target specific elements
- Apply classes or IDs for custom styles
| Do’s | Don’ts |
|---|---|
| Keep it simple | Overuse custom styles |
| Document changes | Apply broad changes that affect global styles |
Previewing Changes Live
Using the Customizer
- Provides a real-time preview of changes
- Ensures modifications look right before publishing
Advantages of Live Previews
- Immediate feedback: See what the audience will see
- Iterative design: Make small, incremental changes
Steps for Preview
- Navigate to the Customizer
- Apply changes to Extra Layout
- Use Homepage Settings to adjust front page layout
- Observe changes in the live preview pane
| Important Notes |
|---|
| Always save progress to avoid data loss |
| Refresh the preview if updates don’t appear |